The Mystery of Trims Unveiled
Sometimes a novice gets intimidated by all of the parts and pieces going into making a hat. Look for example at trimming out a hat. Is there really only one way to add veiling? To place a flower? To use horsehair?
The shape of a hat can be sweet, amazing, or super great but if the trimming flops, the hat falls flat, too. Trimming a hat is more than plopping a flower on the brim. Below are examples of a few simple tricks to expand your skills and enhance your hats.
The first example shows a way to use veiling.
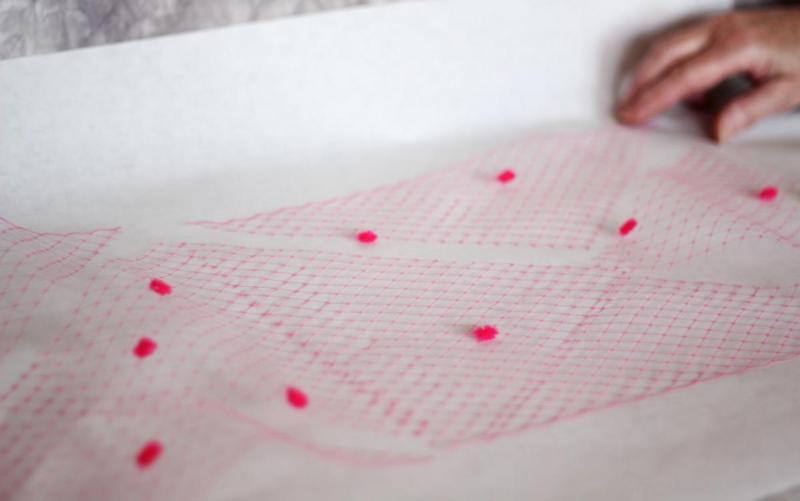
- Cut veiling into triangles as shown in photo 1. They can been any size you want (within the confines of the veiling length and width) We used 1/2 yard of 9-inch width. Gather one edge (we used a contrasting thread for teaching purposes)
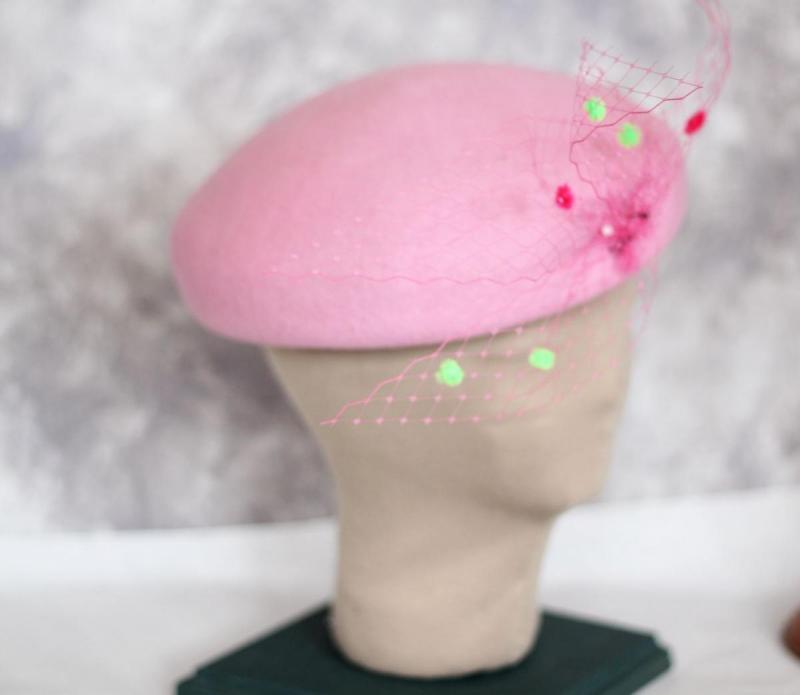
- Move the chenille dots around for better placement. We also added green ones to some of the sections. Pry the wire ends open, place in new location and crimp wire closed over the veiling thread again. All of this can be done with your fingers, no tools required. In case you did not know, chenille dots nowadays are made from the chenille pipe cleaners. We like to have a variety of colors on hand. Purchase from your local craft or hobby shop or online from any number of vendors. Snip desired length, usually 1/2-inch is plenty, then crimp to veiling where desired.
- Instead of chenille dots consider adding velvet shapes made from your own sketch or rhinestones. These can be glued on with a clear drying glue.
- In the final photos we show simple ways of dressing of a plain hat with these triangles of veiling.
The second example shows a couple of ideas using horsehair (or crin).
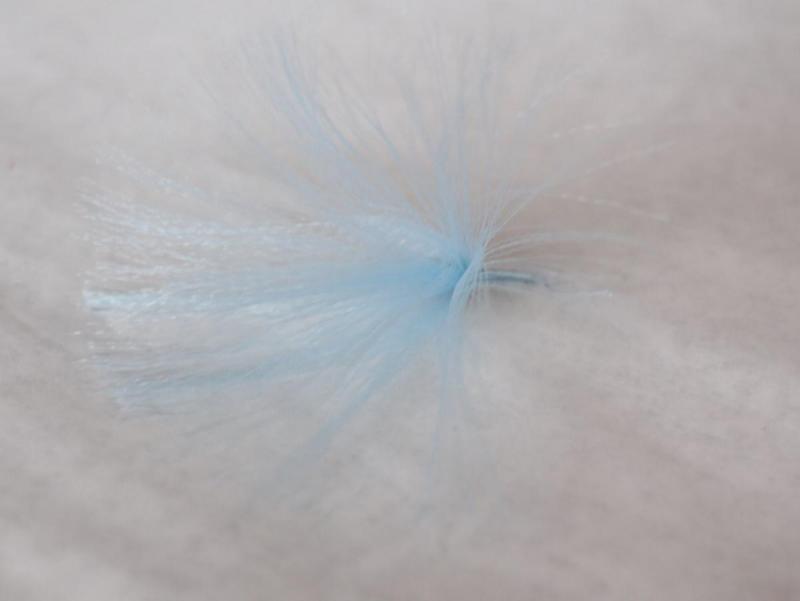
- The blue sample used about ten inches of the 6-inch width horsehair. Gather up along the thread edge and secure. Trim close to opposite edge of the crin and fray the weave to create the feathery appearing trim. There are many other fraying tricks.
- The second sample shows a green horsehair with raw edges curled. This can be done with a hair curling iron on low heat. Caution: high heat can cause the fibers to melt. We also added several chenille dots for another treat for the eye.
- There are many other tricks to do using low heat with crin, just as there are other fraying tricks and other hand manipulations tricks to try. So keep experimenting.
The third example shows a flower trim.
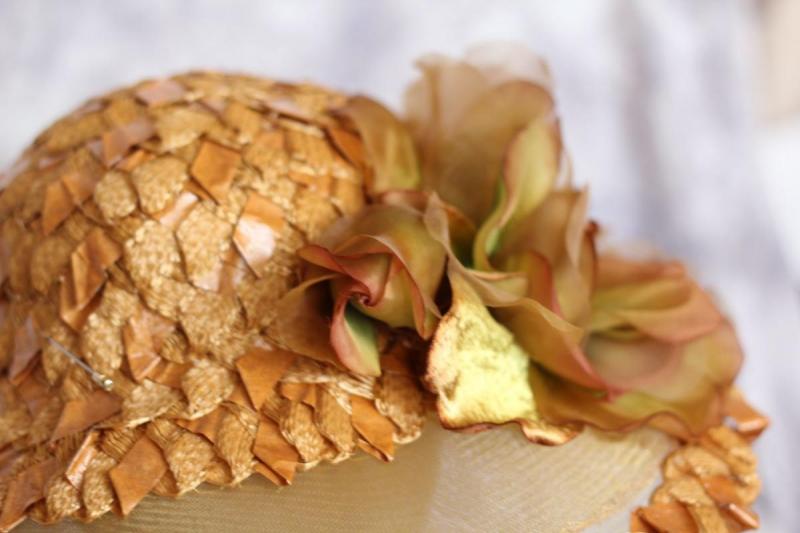
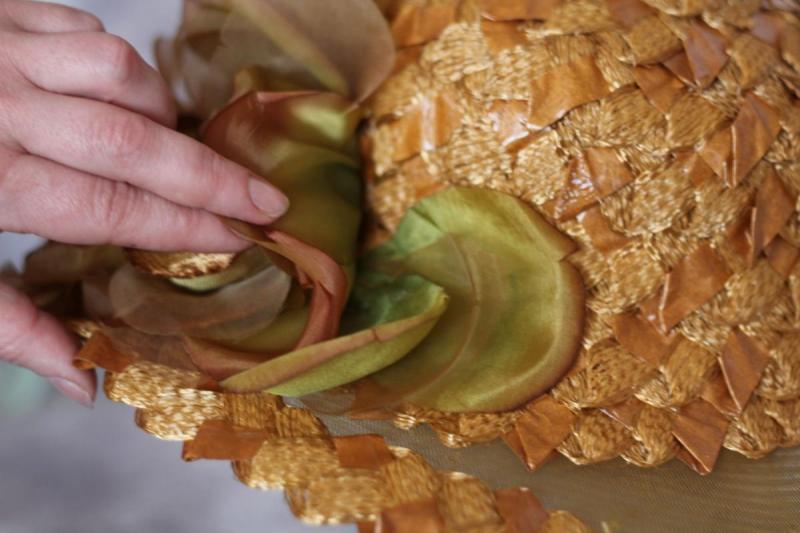
An already made flower was taken apart and placed on the hat in such a way as to alter the appearance of the flower. This also allows it to cover a larger area of the crown and brim. Each petal was then attached to the hat with a few well placed hand stitches.
- Photo 1 shows the original flower center now appearing as bud to one side of the flower.
- Photo 2 shows the new flower with a beaded center.
- Photo 3 shows some of the separated petals tacked down.
- The fourth photo is the final full flower effect.
Since placing this floral trim on the cello straw braid hat I realize I ought to have created the trim on a lightweight buckram foundation and then tacked it to the hat. This would make it easy to remove and do less damage to the overall braid.
None of our examples are the final say. All can be adapted in so many ways. We encourage you to dance with them. Try out some new steps. Take them for a whirl around the workroom.


