How do you keep a block in tip-top shape? There are a few basic rules in block use that if followed, will keep your block looking like new or if an old block, keep it looking better than when it came home with you.
Always cover the block with plastic or aluminum foil before using. This means, cover for felt, straw and buckram blocking. And always remove the cover when done blocking. Dye color especially is harmful and easy to transfer to the new hatbody if the old covering is left on the block.
It is also important to remove the plastic or foil after use in case moisture has crept under the covering. Allow the block to dry out before storing.
If wanting a nicer looking block, lightly sand to remove old stains and varnish. You can then apply a clear restorative finish if you desire.
Hat Block Repair Examples
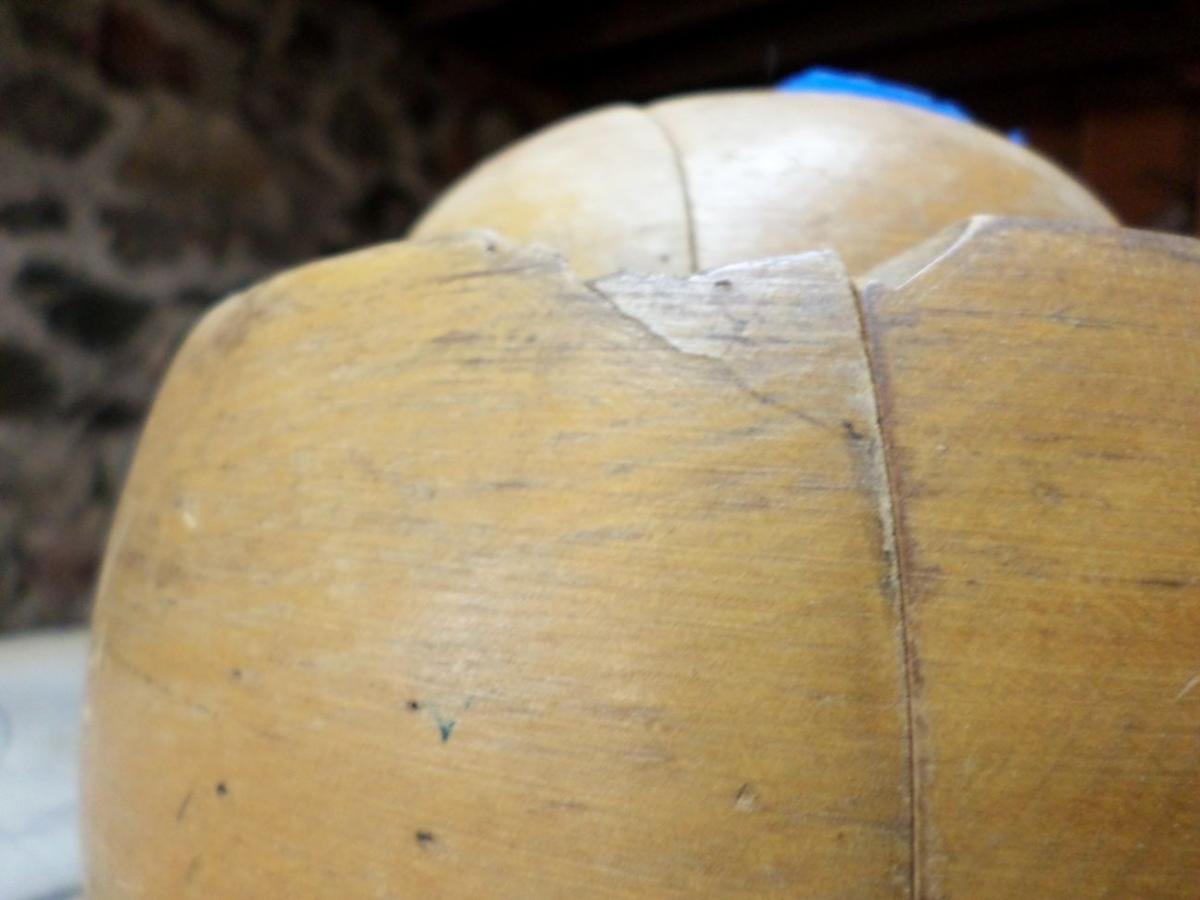
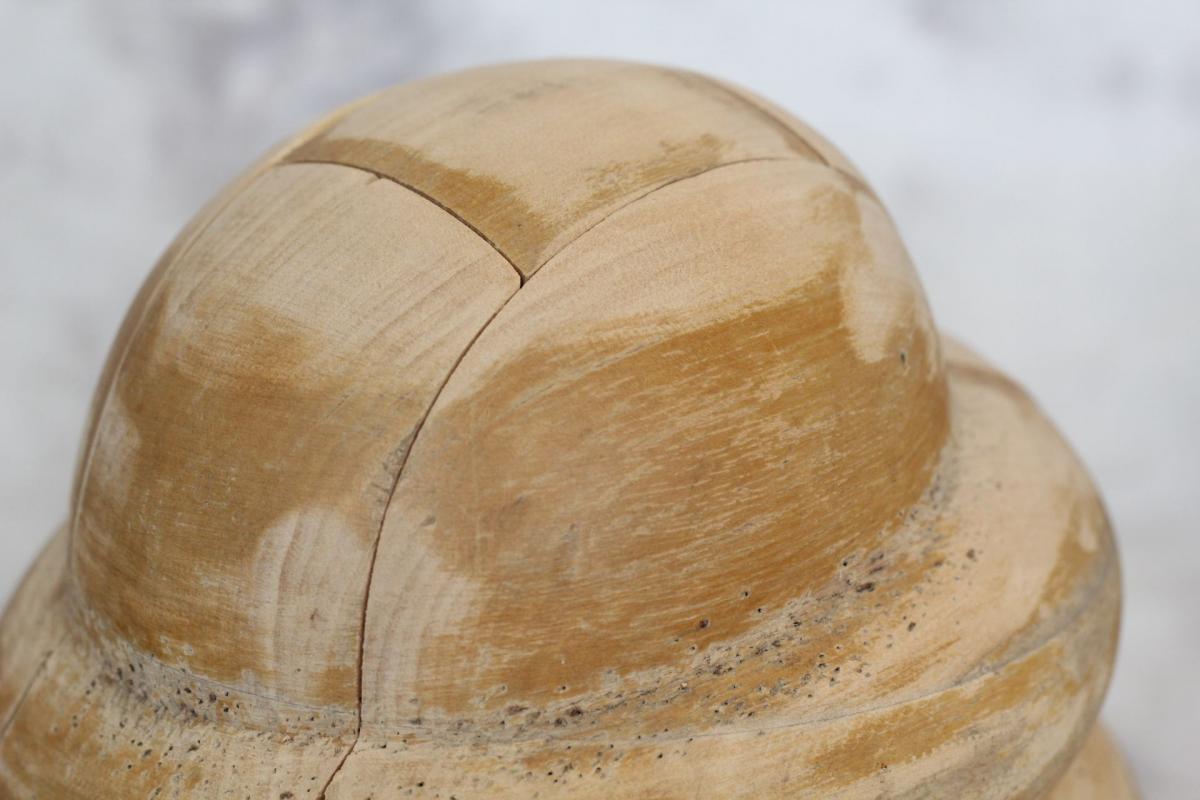
There are things one can do to repair the cracks, chips and dips in an older block. Even a puzzle block missing a piece or two can be salvaged. If you are a skilled woodworker you can do this yourself. (See images one and two). Otherwise, find someone that can make the piece for you. The remainder of our examples can be done by anyone.


All of the following repairs can be done by the inexperienced person. Materials you will need include:
- Hand sandpaper (a small electric sander is also useful but not a must)
- Assorted blades – we show plastic knives and a dinner knife
- Several colors of wood putty (the type that dries hard and can be sanded)
- A putty knife
- A face mask (not shown) and a couple of rags, wet and dry

The first repair job shows a puzzle block with a chip on the corner edge of a brim section. Smooth the chip edges lightly with sandpaper and wipe or blow away dust. Apply wood putty a little at a time, slowly building up and filling the chip. Build it higher than the actual brim edge because you will want to sand it down to blend smoothly into the brim once it has dried. Allow to dry overnight. (If the chip is very large you made need to repeat these steps several times before doing the final sanding.) Then carefully sand on all sides (outer brim, inner brim and edge tip) until it blends nicely with the rest of block brim.
Bumper Puzzle Repair
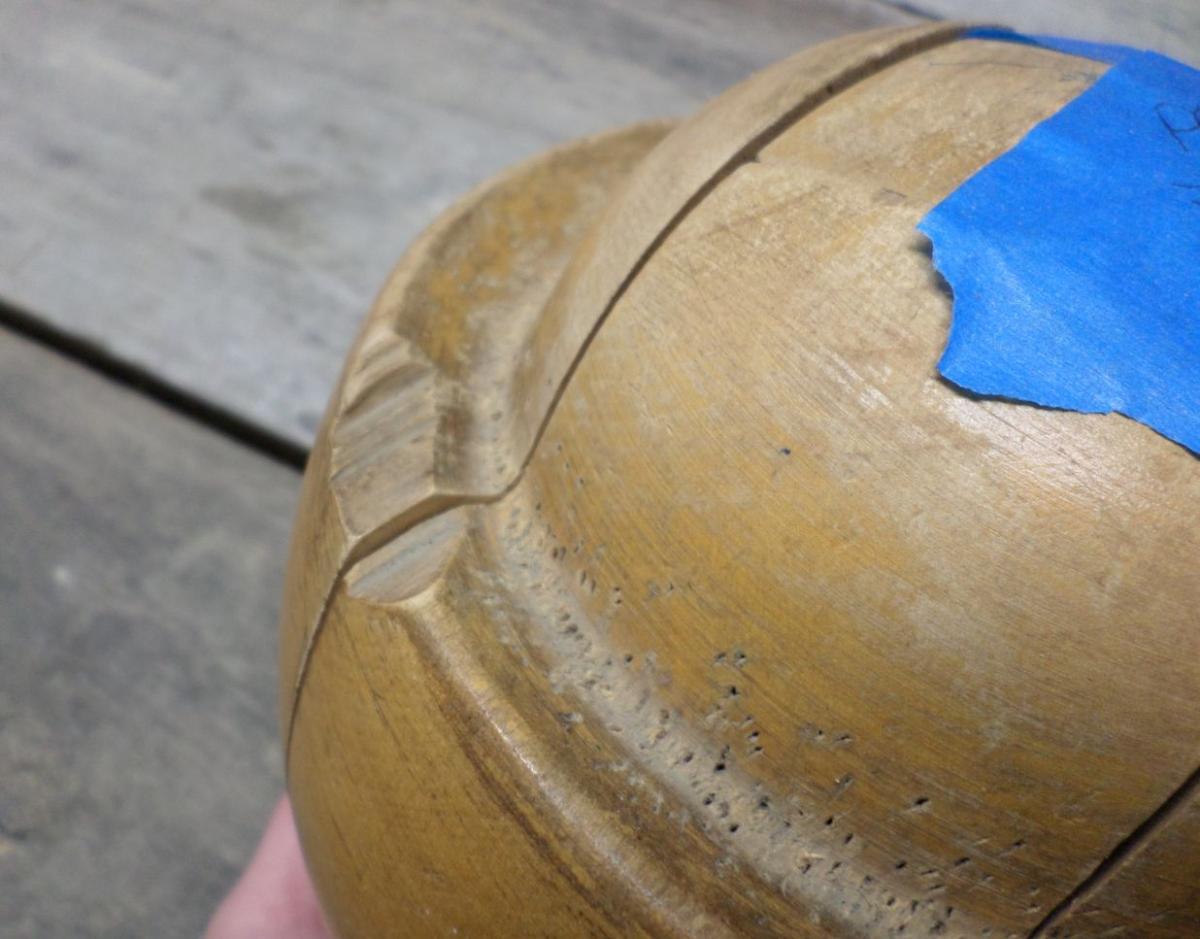

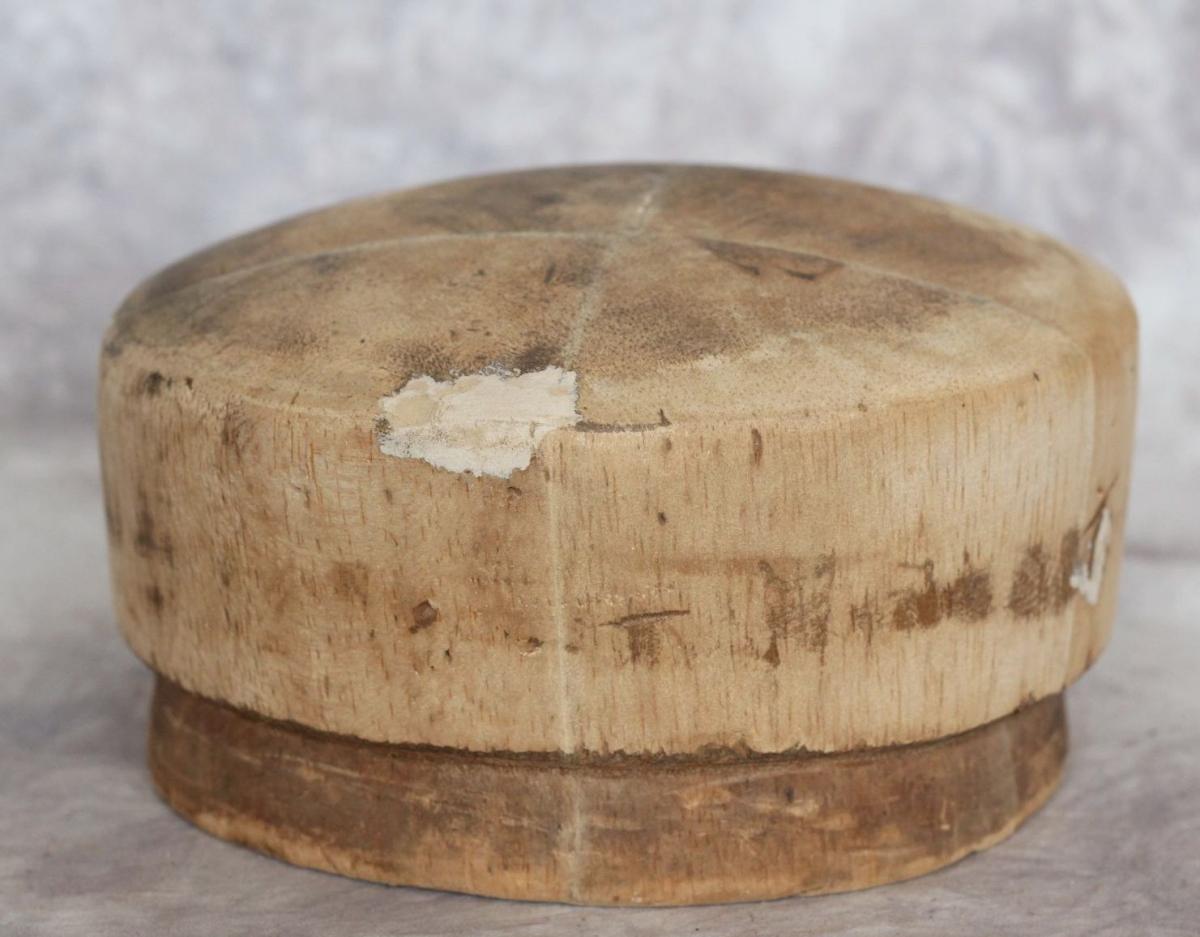
The next example is a crown block with a chip on the side. Follow the same instructions as with the first block. Overfilling the hole and allowing it to dry before sanding down to a smooth finish. The photos show the original hole, the filled hole while putty was drying and finally, the finished block. Additional sanding was done and edges were smoothed out to make a better final edge all around. Use this same process of filling and sanding for cracks and dents.
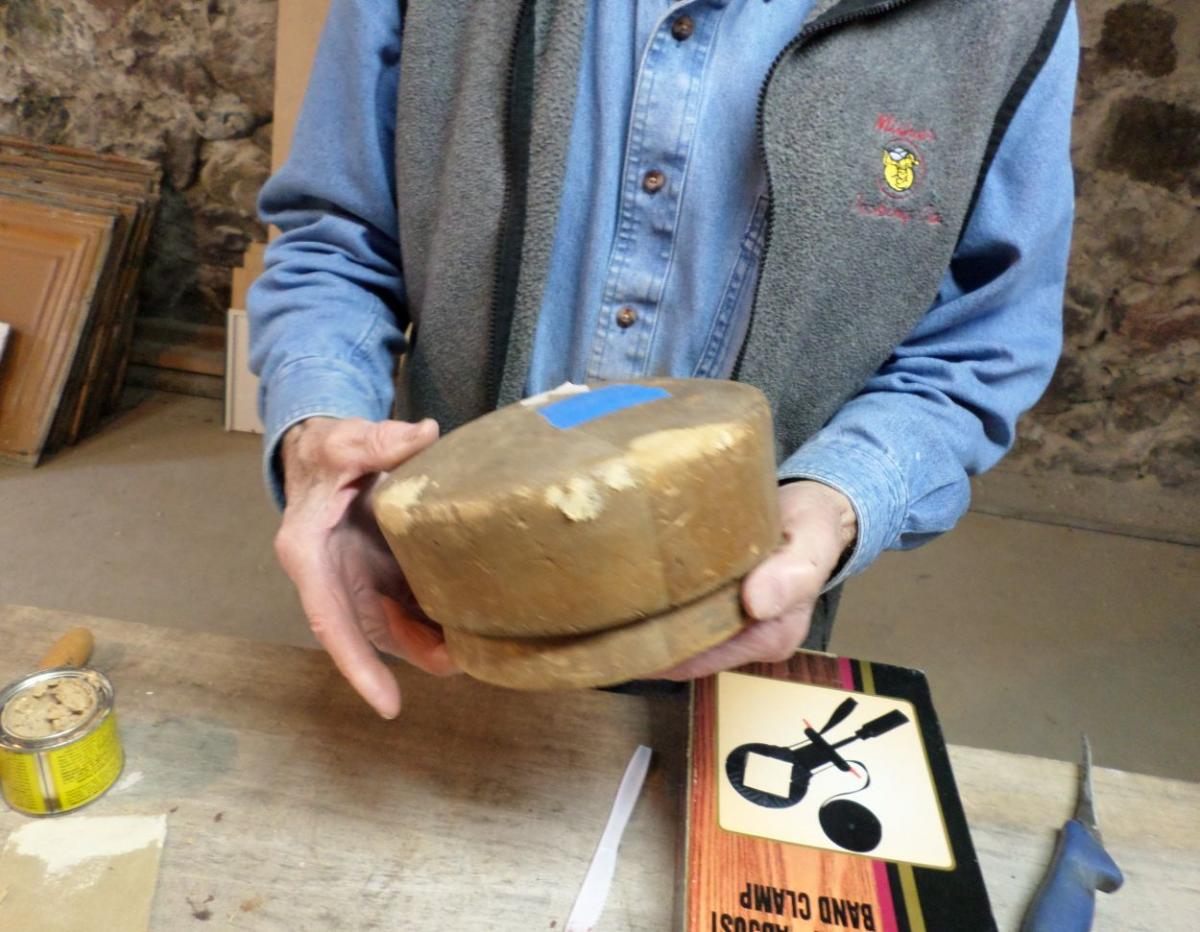

The third example is a bit more complicated but still can be done by the unskilled person. A puzzle block was not fitting together correctly. The center did not line up. Examining it closely we noticed one section did not slide over the peg easily. It need to be carefully sanded to a better fit. After the outer section slid on easily, the center still did not line up. The whole tip of the block was sanded down to meet up on all sections.
Poor Fitting Puzzle Block


You are welcome to share your methods for block repair in the comments box below. What have you found that works and what did not work for you?