We carry a wonderful 100% Merino Wool Flat Felt made by National Nonwovens and our Autumn season makes the perfect time to feature it once again. Some of you may recall we ran a contest with it several years ago. Now we have even more colors available! It works up nicely whether being used in flat pattern work or blocked. If blocking, it is especially beneficial to use the “boiled felt” method prior to blocking. (See instructions here). The article and examples below were done by Lee St. Marie of Studio St. Marie in Rocky River, Ohio.

Working with Flat Wool Felt – Cut-and-Sew Pattern
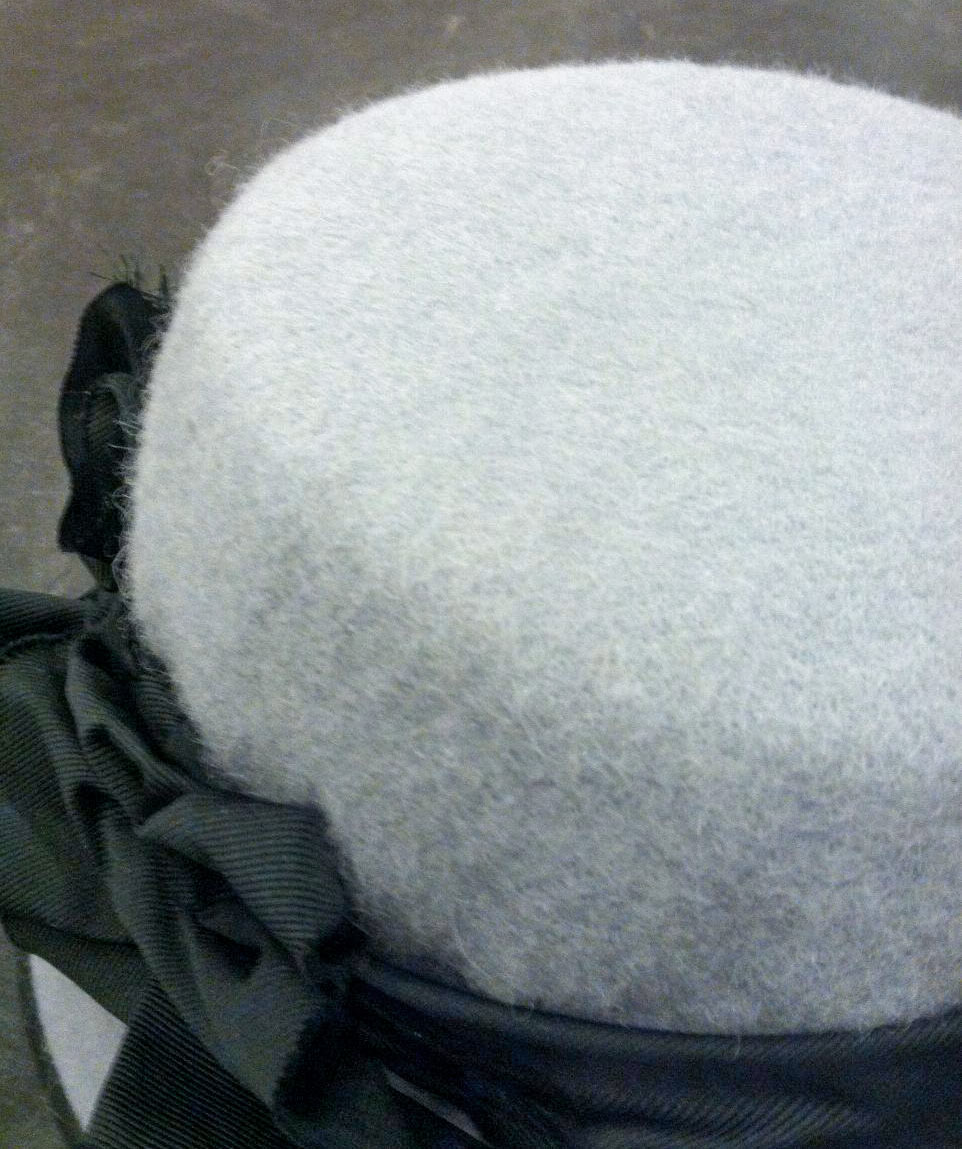
Using pattern 3 of 1928 Head Hugging Hat Patterns by EvaDress Patterns and the Orchid 100% Merino WoolFelt.
I wanted to enlarge the headsize and used 1” square graph paper to enlarge the pattern from 22” to 23”. This was fairly easy to do as instructions for size adjustments are included with the packet. Rather than having a two-tone crown as suggested by the instructions, I cut the four crown pieces all in the same color. The only other modification made was to move the focus of the brim to the near front side rather than centering it in front. With a round crown, the option is there to move the placement around the head, but if you don’t consider the placement before attaching the brim, you may end up with a seam in the center of the forehead, or in an awkward position.


The cut felt pieces are stitched together using a sewing machine. Pressed seams open. Stitched the interior band.
A multi-strand fiber was “embroidered” on the brim of the hat. The felt is very easy to stitch. A vintage button was added and the brim was tacked into place.
Note: The next time I make this hat, I will shorten the crown at least a half inch. Alternatively, the top of the crown can be tucked down and tacked to the side of the crown. I think this hat is a very wearable and a warm option for winter.
Blocked Cloche Using Flat Wool Felt
I chose a flat-top crown block with cloche brim for the shape. The wool was prepared to give it a boiled wool feel following the instructions provided by Judith M. The process is very easy to do. Soaked the felt in cold water, pressed out excess water, and placed in dryer with “dryer balls” for 35 minutes. Opened flat on top of dryer to allow it to completely dry. I did not experience any dye residue in my utility sink or dryer.
Once dry, wrinkles were lightly pressed out using a steam iron. Felt sizing was sprayed on the inside before blocking to help hold the shape. Narrow flat elastic headbands were used to secure the felt on block shape while it dried. Blocking cords left too much of a “dent”.
After the felt dried, I marked an asymmetrical brim shape and cut the brim. I was worried that the crown was going to stretch, so I used small quilting clips to hold a blocking cord to the base of the crown. I did not want the clips to leave marks on the felt, so I immediately hand stitched an adjustable petersham band to the inside of the crown and removed the clips. The brim on this shape needed to be wired. I am not sure if more sizing would have helped. For a finished edge, I machine stitched a bias strip to the top of the brim, wrapped it around the edge and hand stitched the underside.
I used a wider bias strip of the same fabric as a band for the crown of the hat. I like to manipulate the fabric until I get an interesting shape and then stitch in place on the deeper brim side of the hat.
The finished hat has a softer look than a cloche blocked from a felt hood yet remains rather smooth in appearance. One assumes there will be lumps and possibly, I did not do the initial “boiling” long enough to achieve the lumps and bumps, but I like the result for my first attempt. The felt has a bit thicker feel which is nice.
Note: The brim will become smoother with a bit more steam and manipulation.